
Automating various processes is often the smartest thing, even it takes such a long time. While writing a program that will automate your processes can take a few hours or even a few days, but it’s a one-time deal. Once your program is written, you can use it time and time again to expedite your app distribution and development.

Of course, this is all easier said than done. You need to find a good platform that can help you with this type of automation and app distribution.
Fabric Beta is the perfect platform for distributing apps, and I have been using it for distributing pre-release builds for quite a while. Unfortunately, Fabric is set to be deprecated by March 2020, and we are left with no choice but to migrate to other platforms.
Firebase App distribution
Firebase has taken Fabric’s place as the number one platform that allows developers to distribute their apps quickly and with as few obstacles as possible.
It’s a cross-platform solution, ideal for both Android and iOS app distribution and development, and although it’s quite easy to use. I required hours to set it all up and start managing my test groups and distributing apps.
If you want to reduce the amount of time it takes for you to migrate your apps to Firebase, this guide will help you do just this. Take a look at how to set up Firebase, CircleCI, and Fastlane in less than an hour.
Steps to set up Firebase
All it takes is following just a few steps to ensure that your Firebase is set up correctly. We at Uptech Team use Firebase with CircleCI and Fastlane, and the following steps will help you to properly set up all three of these constituents, starting with Firebase.
Step 1
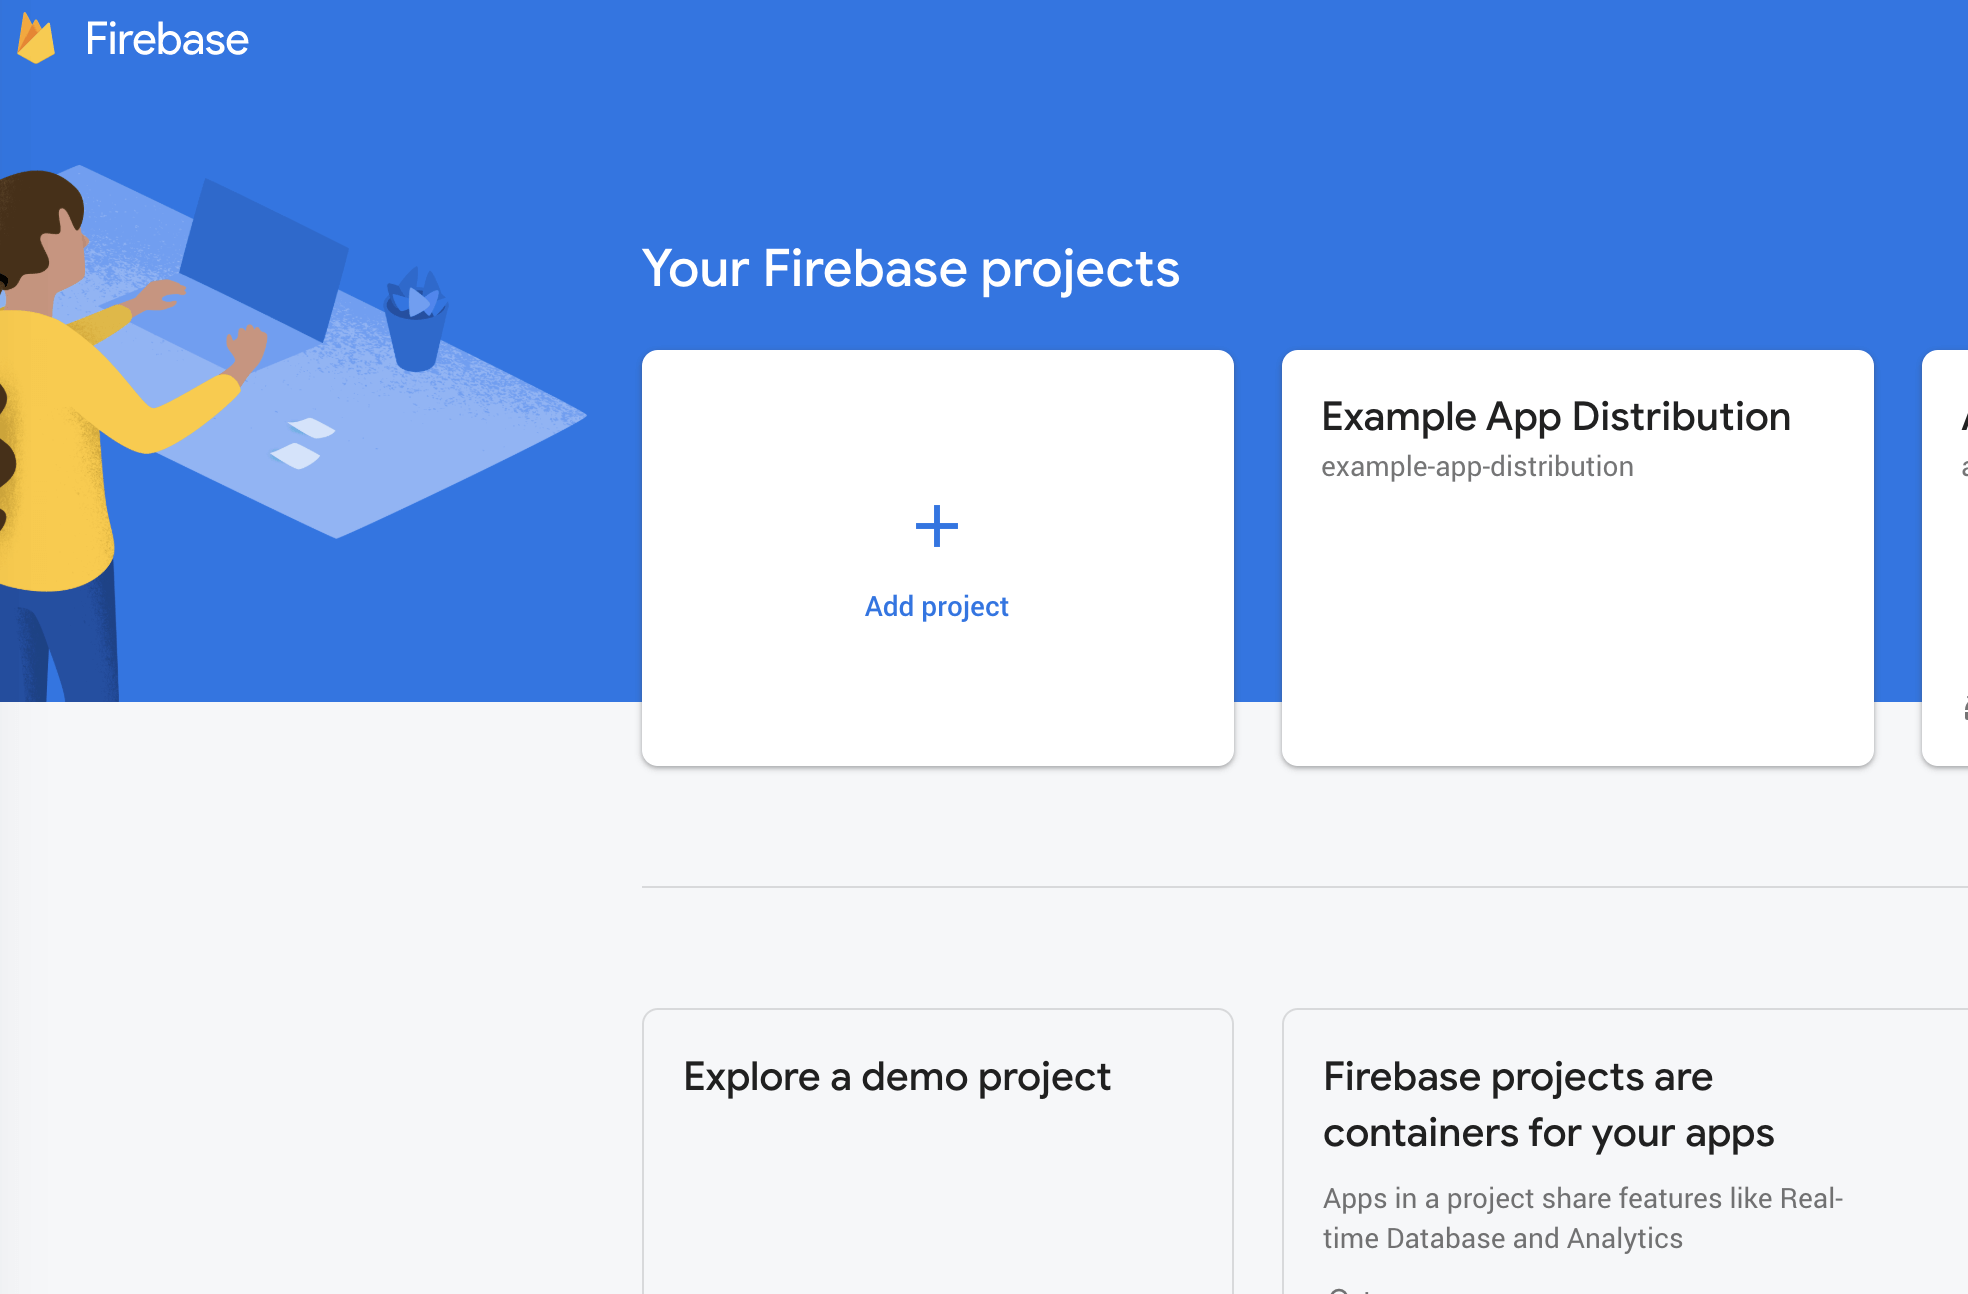
Of course, before you start with your Firebase app distribution, you’ll first have to create your Firebase project. It’s very easy and straightforward, and shouldn’t take you much time.
You can migrate your Fabric project to the Firebase with an intuitive user interface. In other cases, you’ll need to go to the Firebase console, where you’ll see the option to add a project. You’ll be required to fill in some information, including the project name, your country, and you’ll have to choose your data sharing settings. After a few seconds, your Firebase project will be created, and you can move on to the next step.
Step 2
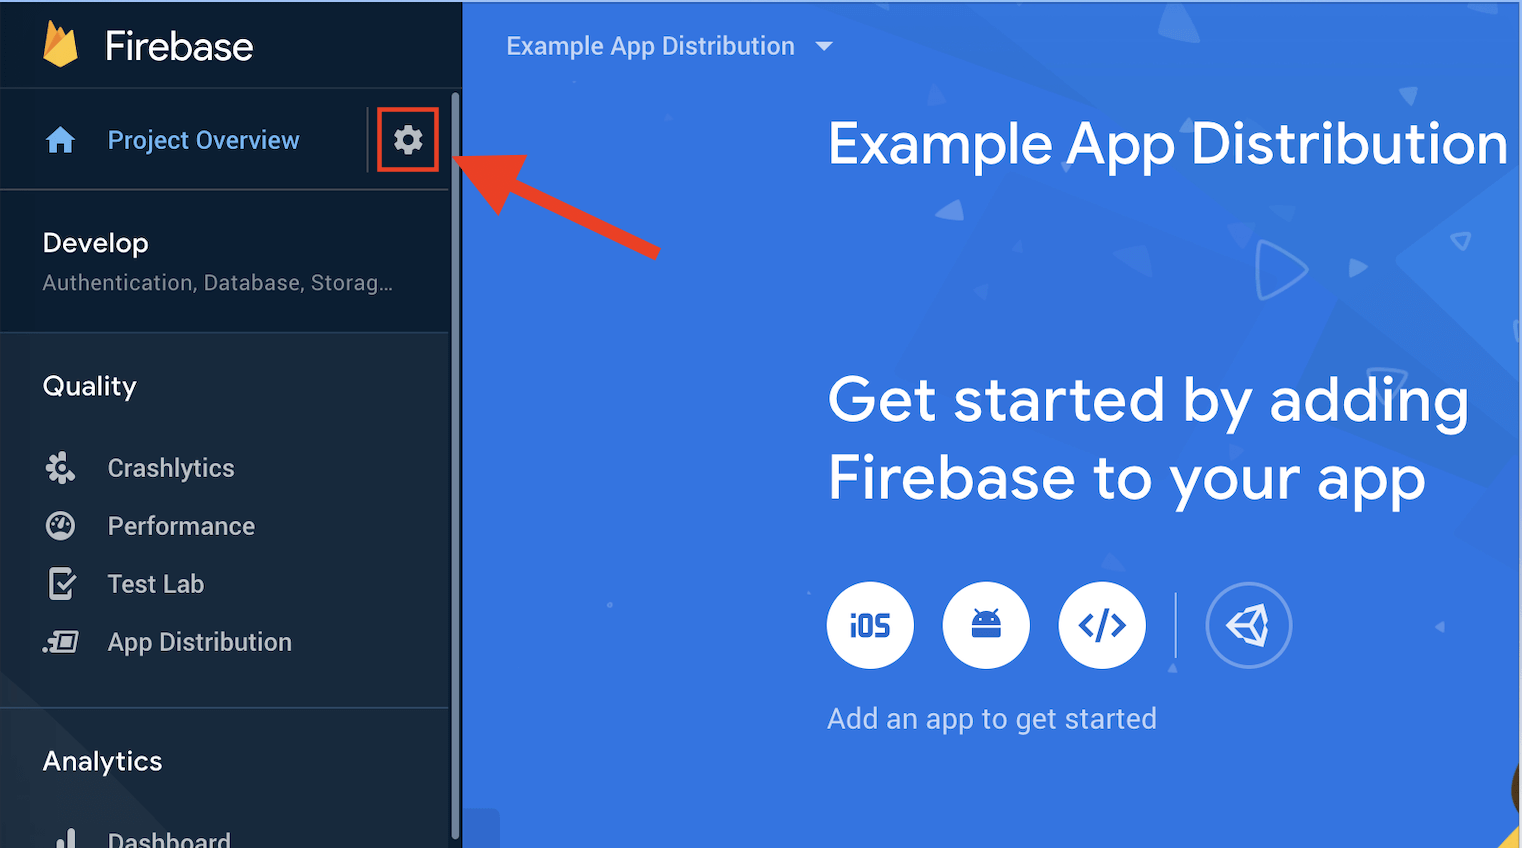
Now you can move on to creating your apps. You can do so through the dashboard, or if you already have an app and you’ve used some of Firebase’s features before, such as Analytics or Performance Monitor, you’ll see your Project Overview in the upper left corner and its settings beside it. Open your Project Settings to access your app.
Step 3
Once you access “Your Apps”, you’ll need to find the app that you want to distribute and copy the App ID. To ensure that your app data is securely stored, you should add this value to your CircleCI environment variables.

Step 4
Now you’ll be ready to move on and create your testing group. For this, you’ll need to click on the “app distribution”, which will be located on your left-hand side. You’ll be required to create a new group where you’ll add your team members, developers, QA engineers, project managers, and other engineers. Without this, your team members will not be able to access the app and start with app testing.
Don’t forget to save your alias — you’ll need this later when you will set up and configure Fastlane.

Step 5
Now, you’ll need to install firebase-tools that will allow you to manage, view, and deploy your Firebase project on the device that you’ll be using. Different operating systems have access to different tools and can have varying installation guides. You can learn more about installing Firebase tools for your operation system here.
Step 6
The next step is signing in to Firebase with your Google account. All you need to do is run the command firebase login.
Step 7
After the authorization is complete, you’ll have to run the firebase login:ci command in the terminal. Go to the account that’s linked to your Firebase project, sign in, and you’ll see the refreshed Firebase token for your CircleCI.

Step 8
To ensure that your Firebase token is secured, you’ll simply need to store it in the CircleCI environment variables, and you’re pretty much done.

Steps to Set up CircleCI
Step 1
Let’s set up the job called alpha_stage which will distribute APK that was already built. We will do it using Fastlane lane called stage. We should pass Firebase App ID and Firebase token from the CircleCI environment variables there.
❗️Important: do not forget to install firebase-tools to your CI using the command:
Otherwise, Fastlane will not be able to find Firebase CLI path (cause it will not exist).
Step 2
Setup your CI workflow. We don’t need to wait when the unit tests job will pass, since this APK is not going to be published in the Store.
As you can see in the code snippet above, we usually upload to Firebase right after successful build on CI. It saves us about 7 minutes, btw.
Steps to Set up Fastlane
Step 1
Let's start with adding the firebase_app_distribution to your Fastlane Pluginfile.
Otherwise, your Fastlane won’t be able to find firebase_app_distribution plugin. If you don’t have Pluginfile file, just create it in the Fastlane folder with only one line.
Step 2
Now you’ll need to define the lane stage and publish to Firebase. (which we used in CircleCI config.yaml file as you may remember):
Here, you’ll include the string #upload, and everything after this string will go to your release notes. The author publishes builds to Firebase only when commit contains string #upload. To avoid uploading everything twice when merging your PR, you should skip the develop and master branches for now. This way is pretty comfortable for our QA and Product Managers and we use it for half of the year successfully.
sign_apk_lane — is the lane, which signs APK with type release and flavor, which we pass from CircleCI.
Step 3
Let’s define lane publish_to_firebase:
In order to upload to Firebase your build you need to fill such parameters (you can find details here):
- app — App ID from the Firebase settings (currently stored in CI environment variables);
- firebase_cli_path — according to this article, you don’t need to specify this parameter, since lane can handle it automatically. You already added a firebase command to the path on your CI.
- firebase_cli_token — token that you store in environment variables on your CI.
- apk_path — absolute path to your APK file. Just to remind, as per December 2019, Firebase doesn’t support AAB for App Distribution.
- release_notes or release_notes_file — notes for testers. Usually can contain ticket number and a short description of the build. You can define what is better for you: pass file or pass a string.
- testers or testers_file —comma-separated emails of testers. You can define what is better for you: pass file or pass a string.
- groups or groups_file — comma-separated name of the testing group. You have already seen on previous screenshots how to create a testing group. I strongly recommend using a testing group, so everyone within a project can manage testers. When a team member leaves the project, he should be removed from the group. You can define what is better for you: pass file or pass a string.
Finish Your App Distribution
After following all the mentioned steps, your app distribution will be complete, and you will see the “Distributed build” card:

The card contains such information:
- Build version;
- Build number;
- Date of distribution;
- Build notes;
- The number of users who have accepted and distributed the APK file.
Firebase app distribution might just be the easiest task for an app developer. It’s fast, easy to use, and convenient. It will help you automate your app distribution, saving you both time and money.
Have a wonderful day!
Made with ❤️ at Uptech